

Cornice or Valance
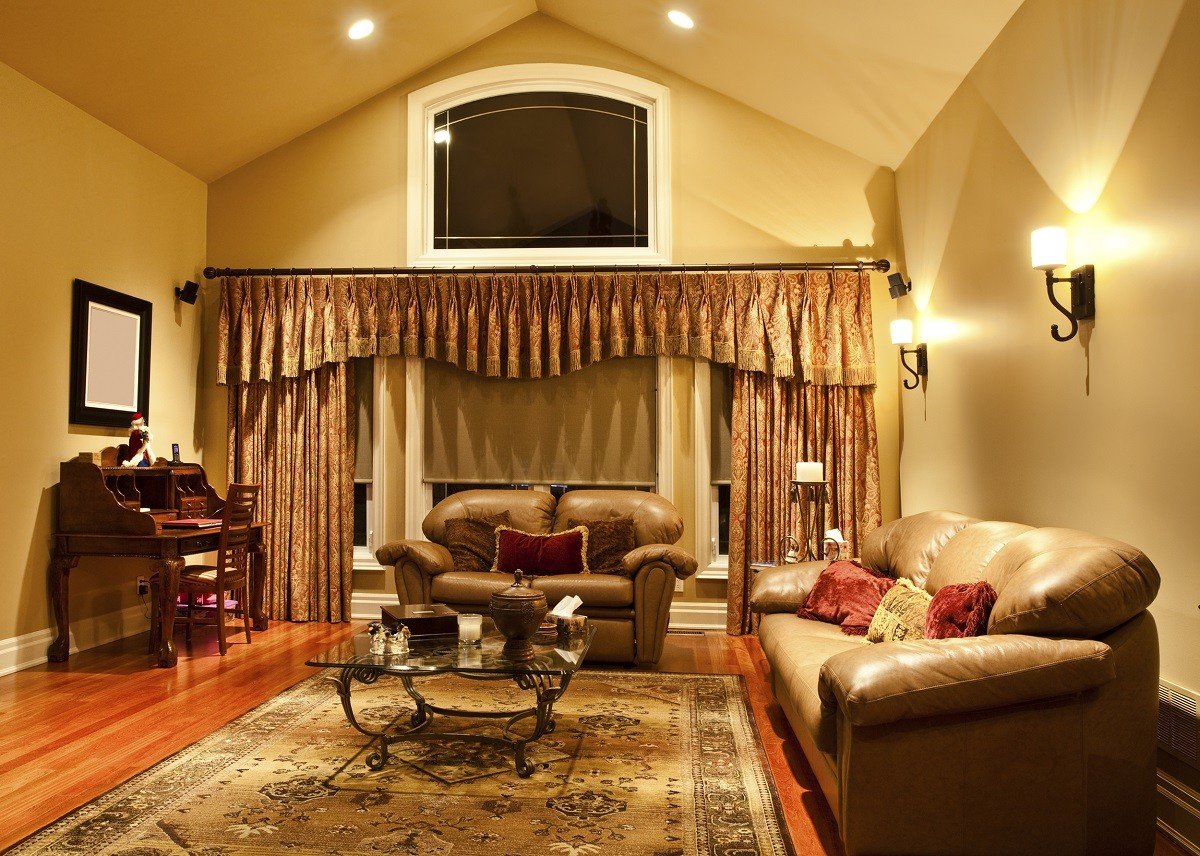
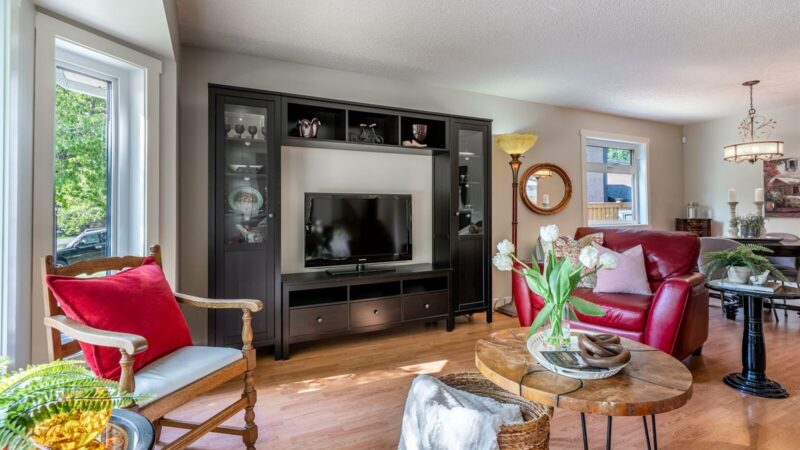
Whether you have a preference for a window cornice or valance, your window treatments add a certain ambience to your room and décor. Cornice or valance, complete the look you want to achieve with a relatively easy idea.
Typically window treatments are quite costly if you’re having them made. For your basic box type cornice or valance, the concept is fairly easy. You can have fun being creative making your own whether you have a sewing machine or not.
The cornice is a decorative band of wood or metal used to conceal curtain fixtures. Just a few technical words to describe the cornice: the front is known as the face; both sides are called the returns; the top piece that stands out from the wall is known as the dust cover. Cornices are typically made from 3/8” particle board or plywood; in the industry, the returns and dust cap might be made from sturdy pine wood. Returns could be 2 ½” to 6” deep, and the front face from 12” to 15” depending on the depth of your windows. Cornices have far more complex shapes and a template would have to be made, which could become more costly.
To build a basic square cornice, purchase the plywood from your local hardware store. Make sure your measurements are exact. You will require a staple gun, strong wood glue and fabric wadding to line the cornice and give the effect of depth. The fun part is choosing your fabrics – either decorator or upholstery fabrics, which have weight and strength to them.
Glue the edge of the face to both returns. When the edges are dry, staple the joints down each side for greater stability. Place your piece of batting down on the table and the plywood face down onto it. Make sure the batting on either side of the plywood is equal and fold the batting over the first edge. Staple from the middle of the board out towards the sides, then fold and mitre the edges when you get to the returns. Staple down until the entire cornice is covered.
The surfaces should look clean with the batting pulled firmly to the edge of your plywood. Next, place your board on top of your fabric and repeat the process making sure the fabric has no tucks or pleats. Use L brackets to screw on to the back of the cornice. Then screw into the wall either into the window frame or trim or above the window.
A valance is defined as a short ornamental piece of drapery that spans the width of a window and used to conceal or compliment the top of curtains, blinds or the window trim. The basic valance size will be the measurement of your window.
There are numerous configurations of fabric design. Flat valance with kick pleats, box-pleated or inverted box-pleated, pleated balloon valance, triangle, swags, mock Roman valance, stagecoach valance with ties, pinch pleated or the scalloped valance. Be creative with the weightier type fabrics, contrasting or complementary fabrics and trims that you choose to achieve your preferred look.
To determine how much fabric you need, for more complicated styles you can make a mock-up with paper. Add your seam allowances whether you are sewing or fusing with stitch witchery tape or a fusible iron tape. Press your seams and hems each step of the way so they look clean and even when stitching. The fusible tapes require steaming and pressing hem edges into place.
The wood batten which you glue or staple to your fabrics will be about 1 ½” to 2” deep and the width of your window. Attach the ribbon trims to either end of the inside of the batten by Velcro. You can also use the ribbons to tie the fabric either end and create a nice soft drape across the valance. Then mount the batten onto the wall either as an inside or outside window frame mount depending upon your preference.
Enjoy being creative with fabrics, colours, contrasts and style. Your project should be fun and inexpensive and will add a new appealing dimension to your windows and your rooms.
Cornice or Valance